Monday, 22 April 2013

Sketching at the Samovar Tea House in Ely

A new group has just off the ground, the Fenland Sketchers, and today I joined four other members for the first official meeting to chat and sketch in the delightful Samovar Tea House in Ely.  It was a fitting venue as this was where Anita and Emma-Jane hatched the idea of creating a Facebook group for people to connect and arrange sketch outings.  Nine days later and their idea has successfully come to fruition.

Interior of the Samovar Tea House


Sketching and chatting - great company...


Our sketchbooks were all very different and we enjoyed peeking into each others and sharing information.  Mine are quite messy, Anita described it as 'a working sketchbook'.  She favours an accordion style sketchbook currently and creates beautiful visual journal style pages with added text to capture the moment.  Emma-Jane worked in a smaller book and Isabel had the largest sketchbook.  Amy became the fifth sketcher - she was seated at a table nearby and became interested in what we were up to.  On enquiring how she could join she was encouraged to just grab some paper and get drawing right there and then.  Hats off to her, she dashed out to buy a sketchbook, came back and got on with it!


Water soluble graphite pencil on collage/gesso page

Graphite pencil on tinted gesso page

Pen and Inktense pencils on collage/gesso page

As you can see I had prepared some pages in advance in my sketchbook (an A5 hardback, Seawhite) by tinting white gesso with some acrylic paint and painting the paper with multi directional strokes.  I like the random colouring and matt surface to work on.  I also had a few pages with collage on then painted over that to integrate the material into the surface. 

If you live in and around the Fens and are interested in joining us for meetings locally to sketch then access the Fenland Sketchers Facebook page and click 'Join' (Emma-Jane will sign you up asap).  If you live further away see if there is a similar group in your area, and if not start one!  What are you waiting for?  It's a great way to meet new people who share your passion for drawing, and to find fascinating new places to visit.  Thank you to the staff at the Samovar Tea House for making us so welcome!

Friday, 19 April 2013

Daffodils in Pastel

 
Studies of daffodils

Working on some class preparation today.  The pastel class starts next week with a session looking at bright, cheerful daffodils.  These are attractive but rather tricky flowers to portray convincingly, especially when viewed head on.  Some time spent studying the construction of the trumpet and arrangement of petals will certainly be of benefit, and a real specimen observed closely from various angles is even better! 


Basic structure, viewed from front


Formation of petals
 
 
Top 'frill' of trumpet curving outwards
 
 
The three images above show studies based on structure of the daffodil when viewed almost head on.  The daffodil can be broken down into a large outer disc (where the petals are) and the trumpet, which has a large circle for the outer edge of the 'frill' and an inner circle (top of the trumpet) with a smaller circle (base of the trumpet).  It is worth noting how the petals form diagonal pairs.  Finally, the secret to making the trumpet look like it is hollow is all down to correctly identifying the darker tone inside against the paler 'frill'... 
 
 
Dancing Daffodils, pastel Tod Evans 
 
 
Whilst daffodils are still in season go out and take a closer look, or treat yourself to a bunch, to discover the beauty of these amazing spring flowers!


Monday, 15 April 2013

Catch Up of News

I really must get into the habit of posting shorter snippets - more often!  This past week or so I have covered quite a bit of ground so will try and catch up on the news without being too long winded.

I had a lovely visit to family in Hertfordshire and one highlight was accompanying my sister to Shardeloes Equestrian Centre, where she works as a freelance riding instructress.  Due to clients still away over the Easter period she only had a few lessons to take and I welcomed the opportunity to take my sketchbook along for a session drawing horses and ponies from life!


A retired Shetland pony...


Dozing in a stable...


The selection of sketches shown illustrates how gestural sometimes these drawings need to be.  Animals do not stay still!  Sometimes a position will be taken up again and the study can continue, other times the pose will have to be abandoned and another sketch commenced.  It is best to accept the nature of this type of work and adopt the spirit of enquiry.  The drawings certainly have faults but overall contain an essence, a feeling of life.  I love looking at artists' sketchbooks and I hope you enjoy this peek into mine.  I would just to say a 'thank you' to the staff at Shardeloes for welcoming me.
 
The weekend before last I was part of an Open Day at Henderson Art and Framing.  The idea was to invite people to come and see the studio, view some artwork, meet the tutors and hopefully get inspired to sign up to a class.  We didn't really know what the response might be but Sue did a great job advertising the event and several current class members came along to support us and brought interested people with them.  
 
Display of work for classes at Open Studio Event
 
The day was a great success with plenty of visitors and some new people signed up for classes.  Myself and the other two tutors commented on the buzzing atmosphere and felt the event was definitely worthwhile. 
 
View 1 of workshop in progress
View 2 of workshop in progress
 
Finally, the Water Mixable Oils Workshop took place last Wednesday (see images above).  I was pleased with how the day went and the participants were delightful and very industrious!  It was a full day, and working step-by-step can sometimes be challenging as we all work at a slightly different pace - some need to work quicker than they would like and others have to slow down a bit.  I hope that everyone went home with their 16 x 16" box canvas and felt that during the process of painting 'Agapanthus' they had learned some useful techniques and gleaned plenty of information about these products.  As I provided polystyrene plates to use as palettes I made sure they all had some freshly squeezed pain,t in the limited palette of colours we had been using, so that there would be an opportunity to 'tweak' the work should they wish over the following day or so at home... 
 
Whew, a whistle stop catch up of news - definitely need to post more often.  Right, off to the studio this afternoon as time is running short to work on a drawing for the upcoming WNAA exhibition at the end of the month titled 'Drawing Attention' - the closing date for entries is rapidly approaching!    


Monday, 25 March 2013

Paint Small Scale

I have taken a close up photo of the painting I did in the paddock.  I forgot yesterday, probably because I was so cold by the time I got back indoors.  Then I had to clean up my brushes before having, at last, lovely hot soup...

'Last of the Snow', Artisan oils, 10x8"
Have realised how tricky it is to photograph oil paintings when they are fresh.  There is a sheen that makes light bounce off the surface.  One aspect I did enjoy was working on this scale - it can help to stop all those fiddly details.

If this is one of your goals, why not try this?  Big brushes - small scale support - and save the little brushes just for a few tweaks at the end?

Sunday, 24 March 2013

Painting Plein Air in the Paddock

Yesterday it snowed nearly all day but only really started to settle in the evening.  On waking this morning there was a light covering but as the sun came out it began to rapidly thaw.  As I glanced out the window and up our little paddock the sky looked quite dark and mauve and I loved the tracery of bare branches and snow lying amongst the clumps of grass.  I resolved to get out and paint!!!  This was the perfect opportunity to road test my equipment - if I realised I had forgotten anything I could easily nip in for it.

Pochade box, tripod and backpack

This is my equipment which I have organised to have ready in the studio to take out whenever the urge strikes.  As the box is fairly heavy I wouldn't want to carry it too far so I have bought a 2 wheel shopper trolley to use for occasions where I may be having to walk a bit further, or for around urban locations.  I'm sure you'll get to see it some time soon.


All ready to go...

It is great having everything to hand.  The 10 x 8" canvas board gets secured upright, the wooden palette surface I have decided not to use, I prefer to lay my paints out on a tear-off paper palette for the time being.  The brushes I select can slot into the drilled holes on the left.  The paints, palette knife, brushes are stored securely in the drawer.  The thermos cup dangling off the side is my water container.  I am working with water mixable oils and just used this to dilute paint in the early stages and to clean my brushes between colours.  If you look really close you can just see that the board actually had the beginnings of a previous old painting, I gessoed over this with a pale blue tint so I had an overall mid tone to work on.


Diluted underpainting to establish composition

 
I diluted the paint with water and used a small round to get the gist of the composition before changing to a filbert to start blocking in some of the main shapes.


Developing the painting

Still working with a bigger filbert brush start developing colours of the field, paint still diluted.


Finished painting

As I worked the snow 'pockets' were thawing fast.  The sky was also changing fast and becoming lighter, less interesting.  As the dark sky was what inspired me in the first place I decided to stick with my original concept.

The whole 'trip' was about two hours.  I had been standing close to a hedge which afforded some shelter from the chilly wind, but as I packed up I realised suddenly how cold my fingertips had become (I was painting with fingerless gloves on).  Once back indoors I cleaned my brushes before settling down with a bowl of hot tomato soup.  Whilst not a brilliant painting I am pleased with it as a record of my first official plein air outing.  Here's to many more...


Thursday, 14 March 2013

Painting Plein Air (Almost)

Oh dear!  Over a month since my last post.  However I have not been idle.  Alongside the weekly preparation I do for the pastel and the mixed media classes I teach I have also been organising a water mixable oils workshop for April.  I have painted a demo canvas of 'Agapanthus', photographed the stages and hope enough people will be inspired and sign up for the session.


'Agapanthus', water-mixable oils, 16" x 16" box canvas
 
I have so enjoyed working with these Artisan paints that I plan to do a lot more with them this year.  In fact my plan involves painting 'en plein air'.  Yes, on location rather than in the studio from photos.  I have a Mabef pochade box and wood tripod I have not really used - so now is the time (well, as the weather improves maybe).  I have already organised all my painting equipment together so that I can just grab it and go.

I have been very eager to have my first experience.  I am used to working in a sketchbook on location but this is small scale, tended to be dry media, and definitely unobtrusive.  I am sure I will have a lot to learn - all those greens for a start!!!  Despite the awful weather last weekend I had my heart set on doing something.  Rain, sleet, and a windchill factor of minus seven convinced me it would be foolhardy to try my first time in situ so I opted to set up in my freezing cold conservatory instead.  It has no heating and I resisted the temptation to use a fan heater.

 
Create mid-tone as base...
 
Establish composition, get some loose colour across whole canvas...
 
Starting to add definition, broader colour and tonal range...
 
Final painting - in about 2 hours!
 
It certainly isn't perfect but for just two hours work in cold conditions (my fingers were going numb) I was reasonably happy.  With hindsight I would definitely want to soften the thin branches against the sky to the left as they should be further back in space.  Possibly the snowdrops around the foreground apple tree could extend to the right and leave the canvas.  But for what it is, I'm happy.

Painting a view from life is a very different experience.  Until the weather improves have a go at a scene through your window whether it's the garden or a view up the street - it is certainly an enjoyable way to pass a few hours!

Saturday, 9 February 2013

Painting still life - Clementines in Acrylic

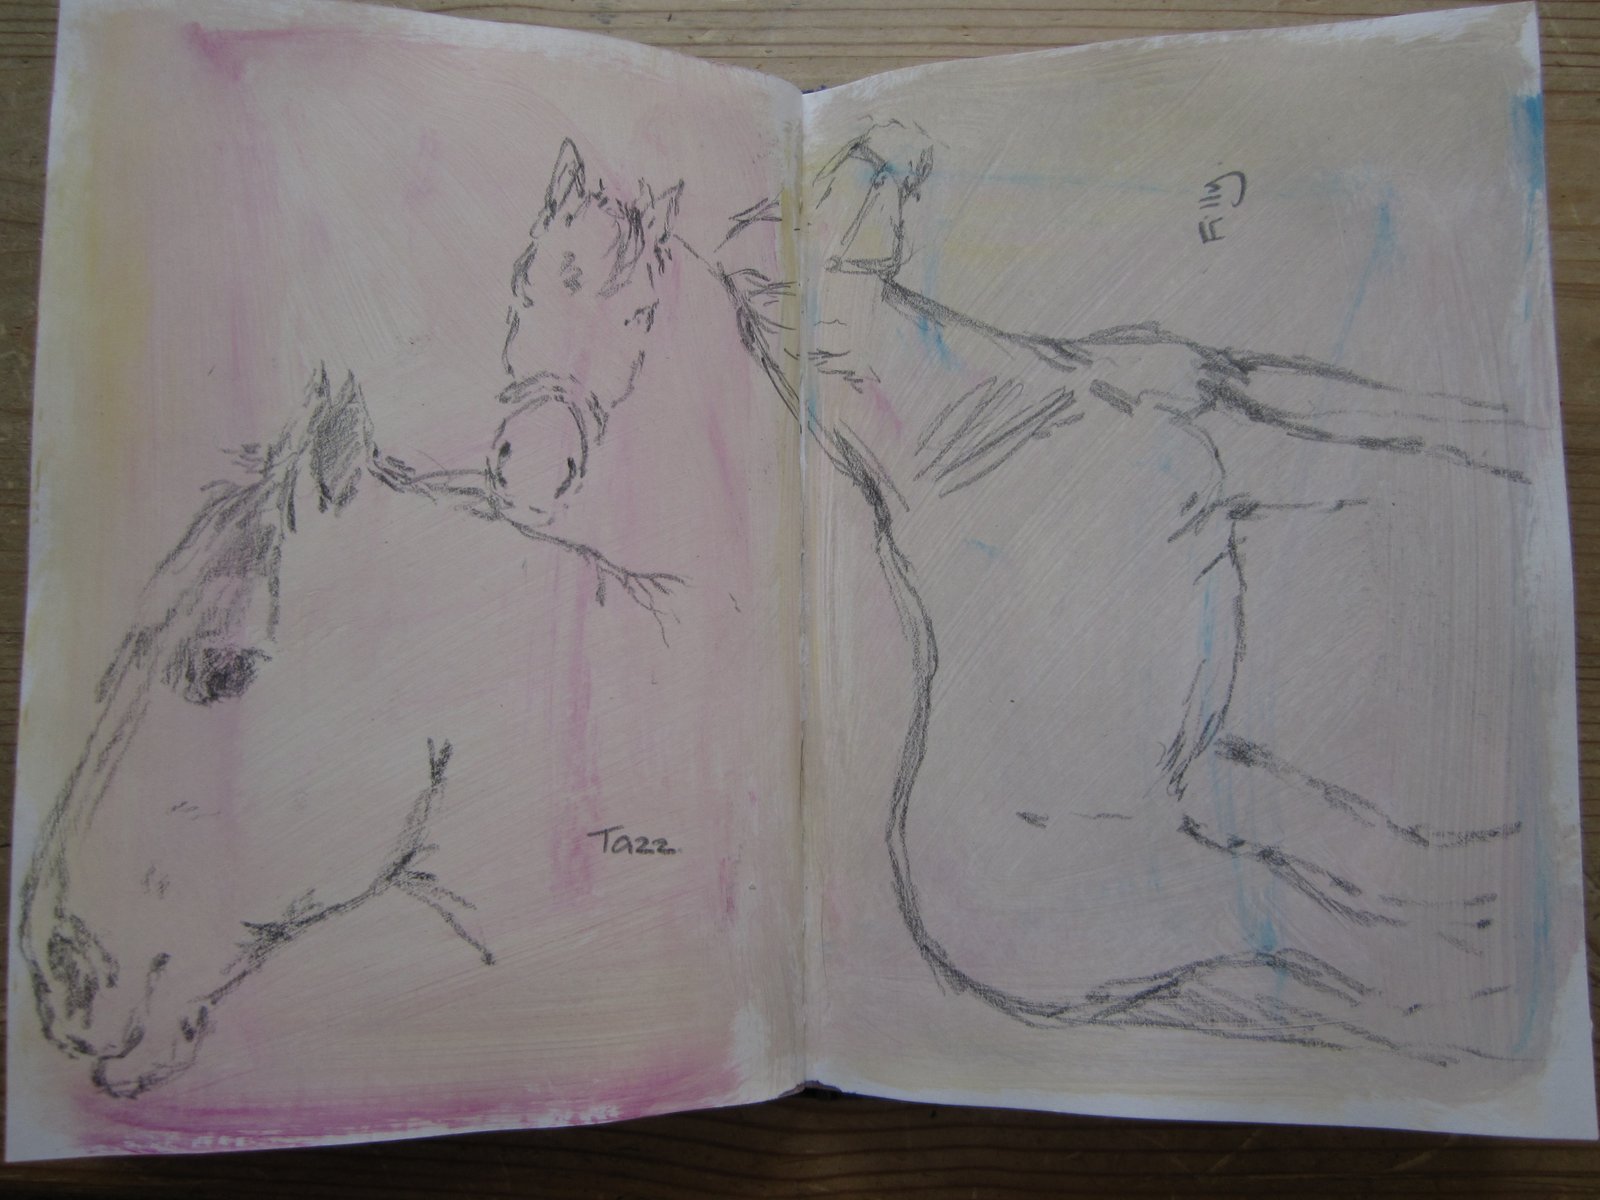
Classes this week have been very enjoyable.  Every term I like to include a session working from life and the mixed media group were asked to bring fruit or veg to set up a simple still life.  I had specified acrylic as the media to work in, and encouraged members to try small canvas boards which are lovely to paint on.  I had painted an example myself and photographed the stages as a suggested method of working...

Stage 1: Create mid-tone and sketch composition

Backgrounds can be a problem with still life, so I advised painting a diluted acrylic wash of colour over the whole board to create a mid-tone (and to get rid of the 'scary' white canvas).  This is a preliminary layer but can be left to play a major or minor role later...  Once the wash has dried sketch out the composition, either with pencil, pastel, or directly with diluted paint and a brush.

Stage 2:  Block in base colours

Block in the basic colours of the subject - go for generalised light, mid, dark tones to start to suggest the form.  Cast shadows are important, get them in early!  They are part of the design process and can be used to create drama, interesting shapes and / or can act as a linking device.

Stage 3:  Scumble background colour

I find people often set off painting the objects to a high degree of finish, sit back and then think "oh, what shall I do with the background?"  In the class situation there isn't room to create elaborate 'sets' with draped fabric for each individual still life arrangement.  Backgrounds are really being invented.  For this next stage I suggested they might like to try scumbling a paler, thicker paint mix over the mid-tone background to create some interest and texture whilst keeping it simple.  I like to use a big flat brush for this and use my brushstrokes in an almost criss-cross fashion allowing some of the first wash to show through .  I paint right up to the objects and around the cast shadows.  Apologies for the cool tint of the photograph, it was getting dark and I forgot to take another picture before carrying on work the next day.

Stage 4:  Bring the painting to life with subtle colour, tones and detail

This is the bit everyone enjoys - working with a wider range of colours and tones and gradually adding detail to bring the painting to life.

Clementines, acrylic on canvas board, 8 x 10 cms

I really enjoyed working on this little painting in acrylic.  The warm limited colour palette is certainly uplifting on a chilly February day.  I find the orange / purple colourings exciting and more pleasing to the eye than a true complementary pairing of orange / blue.  In fact with the addition of the green in the leaf this colour combination is known as a triadic colour harmony.

If you have never tried painting from life, look for some fruit or vegetables in the fridge (or next time you're in the supermarket treat yourself to something you would like to paint) and have a go.