Showing posts with label aims. Show all posts

Saturday, 22 August 2015

Experimenting with Colours and Techniques


A new enthusiasm and energy has taken hold recently with regards art making. There seems to have been a shift in my vision and a freer approach is emerging... I have been experimenting with new colours and foregoing detail in completed work in favour of expressive mark making. This is exciting!

I spent one afternoon playing with some new watercolour paints...


Winsor & Newton watercolours - Transparent Orange
and Sapphire Blue

Daniel Smith watercolours and W&N Cerulean Blue plus Sapphire Blue again.
Bottom half of painting had some cellophane draped over while paint was still wet,
and then left to dry. 


Winsor & Newton Gold calligraphy ink
(fortunately lightfast - beware, not all calligraphy colours are) with
Daniel Smith Undersea Green and Violet gouache.


Tricky to photograph so the gold shimmer
is apparent!

The potential of the new Daniel Smith colours is very inspiring as they granulate readily and the colours separate out into their component parts.


I have also been studying a new book by Debora Stewart and her techniques for abstracted art echo what I have been moving towards. The untitled (as yet) work shown in the stages below is a step in the right direction with a loose beginning, and I tried to keep the drawing spontaneous rather than laboured and exact.


1.  Compressed charcoal was stroked energetically
across mid grey Canson Mi-Teintes pastel paper.
Water was swished over this with a large flat brush
in multi-directions. As the work was upright on an easel
drips were encouraged to flow down the paper. You can see where I then
started the line drawing in white pastel pencil. 


2.  Once the basic composition was in place I began to
introduce some of the lightest / darkest tones and established
the insect as the focal point.   


3.  More light areas are built up with white pastel pencil and
a few more hints of ochre placed.
 

4.  The stamens of the top bloom are now in place.


5. Finally the stamens on the primary bloom are suggested
and the brightest sunlit areas are strengthened with touches of
a white Unison pastel stick. 

This drawing was very enjoyable to do and three elements helped to keep it fresh and loose. First, I stood at an easel to work which aids larger arm movements; the initial layer of large sweeping marks contained an innate liveliness and lastly I held the pastel pencils well away from the point, so relinquishing some control. Also, the limited palette works to keep the focus on the insect and small touches of ochre elsewhere lead the eye around the composition.   

Today has surely been one of the hottest so far... and I spent most of the afternoon and early evening in the studio. I would normally wear an apron when working with pastels as they are one of the messier mediums but couldn't bear the thought of an additional layer and didn't bother. Using a photo I took in Holme-next-the-Sea of pink Mallow as a starting point, I worked on a painting that focused on mark making and layering to try and capture the essence. 


A loose wet-on-dry application of watercolour
was the starting point for this painting. The base colours were encouraged to fuse and again drips were integral as I was stood at the easel.

Although the support looks white in the photo it is a warm cream Art Spectrum Colourfix paper. The slightly gritty surface happily accepts watermedia and there is plenty of tooth for soft pastel in subsequent layers. 


Once the initial paint was dry a very loose drawing in charcoal pencil was 
established. Again holding the pencil nearer the end furthest from the point helped prevent 
a tight rendition. Also pushing up, rather than pulling in a downward motion, and gently rolling the 
pencil between the fingers as drawing enabled more random marks to be made.


The next step seems counter productive, but I did it anyway, and 'lost' the drawing
by dragging a flat brush with diluted gesso across the surface in multi-directional strokes. 
This is a technique favoured by Debora Stewart but with hindsight I realised she uses 
compressed charcoal so a little more of the drawing remains intact! 


The drawing is then re-established with charcoal pencil and even if more of the first drawing 
had been present this second one would have been superimposed, and slightly offset, to 
enhance the feeling of layered media. My eyes are really enjoying what is beginning to happen in this work and I'm almost tempted to stop at this stage.


I push on however and introduce more colour using soft pastel sticks. 
I limit the colours and tonal range to try and avoid confusion. 
When I pause to assess how the work is going I feel a little disappointed. Close up there is plenty to engage the eye but move a short distance away and it blurs into a generalised mid tone.

Something must be done to redeem it...


 Taking yet another risk, I lightly block in the negative spaces in the top two thirds of the painting. 
I use a white pastel pencil and hold it low so that the side of the point catches across the gritty surface and allows the under layer to still play a part. 

I finally stop and take stock again. After a few extra dark punctuations 
with the charcoal pencil I feel it is finished. 

Did I make the right choice?
Too early to tell. I need a bit of time to pass to assess it as a whole again.

What do you think?  


Sunday, 26 April 2015

Change... Artist Block, and an Action Plan!

End of an era... Henderson Art & Framing closing down sale.

Change now is inevitable, and I am still trying to get used to the fact that Henderson Art & Framing is now closing and will finally be locking the doors at the end of May. In the meantime they have a half price closing down sale so if you live nearby hurry along to stock up, and resolve to continue your art journey, one way or another! (Fortunately Bill will continue framing from home). Henderson's has been a big part of my life for the past 7 years and I have gained so much enjoyment and experience whilst working there as a freelance art tutor.

I have put several plans in place so that my class members will be able to continue with their drawing and painting and am currently offering one workshop a month, and one Social Sketchbook event a month. Probably not the week-in-week-out classes they might have hoped for but feel this is an opportunity to spend some time reconnecting with my own personal artwork. With a lot of my time spent researching, preparing and delivering art classes I have often let my own work take second place - you may have noticed that I have only been snatching time to sketch recently, when did I last work on a painting? Having spent time over the past weeks reflecting, envisioning and implementing a plan for life without Henderson's (plus a few health dramas for other members of my family) I wanted to get into the studio and do some work. But... nothing... the intention is there yet I avoid going down to the studio... so, nothing. I have ideas for drawings and paintings but that vital spark seems absent. Somewhere along the line I feel I have lost a sense of who I am as an artist, or maybe my art is in a phase of transition? This all sounds very existential but it's as if I don't know what 'my work' looks like any more; that it has moved on in my head but not in the real world because the practical, tangible work is missing.

Before I set out (publicly) an action plan let me assure you I haven't been wallowing in angst and hiding, and have organised two art events recently.

Drawing evening for King's Lynn Embroiderer's Guild.

I really enjoy connecting with people through art and was asked to put together an evening to help members of the King's Lynn Embroiderer's Guild with some drawing tasks to get a new project, based on ancient textiles, off the ground. The group were very enthusiastic and tackled three tasks with gusto.


The group working hard on selecting cropped areas
to transcribe in a drawn grid on A4 paper.

Using black felt pens they drew motifs from fabric samples or reference materials on tracing paper (four sheets each) which then could be layered to create more complex designs in a variety of configurations. This was followed by drawing cropped sections into six squares by isolating areas with a viewfinder. Finally a coloured positive / negative image was obtained by covering cartridge paper with a variegated coloured layer of soft pastel, overlaid with oil pastels. When drawn on the reverse side the design got transferred as a positive line on white, leaving the original as a pale negative line on a coloured background. Congratulations to all the members for working so hard and producing some great work - I hope it will prove useful as a springboard for generating further ideas.

Social Sketchbook event at Stow Bardolph.

The first Social Sketchbook event was held at the beginning of the month. I had arranged for us to meet at Church Farm, a small rare breeds centre in Stow Bardolph. The weather was relatively kind as previous days had been wild winds and bitterly cold. Although still chilly, the wind had dropped considerably and the sun even put in an appearance.


A curious pig returning the interest as one member sketches quickly
 to capture her expression.


Smiles all round - but ready for a warming drink and snack in the Tea Room,
where one member is already happily ensconced.

The group seemed to enjoy the opportunity to work outside of the studio environment, and quickly overcame any concerns about using sketchbooks in such a busy environment (it was the start of the Easter holidays and bustling with families enjoying the farm animals). There were nine of us and as the farm is quite compact we all moved about focusing on what caught our individual attention, yet frequently were in close proximity to one or two of the others. By early afternoon the nip in the air was taking it's toll and we were ready to retire to the Tea Room for a hot drink and light lunch while we chatted. The social aspect has always been welcomed by members of my classes and I hope more will join the Social Sketchbook events in the future.

*The drawings below are from a few pages in my sketchbook and apologies for the blue tinge, the paper is white, honestly.

   
Sheep study in Goldline 8x8" hardback sketchbook.  


Sheep and lamb sketches.


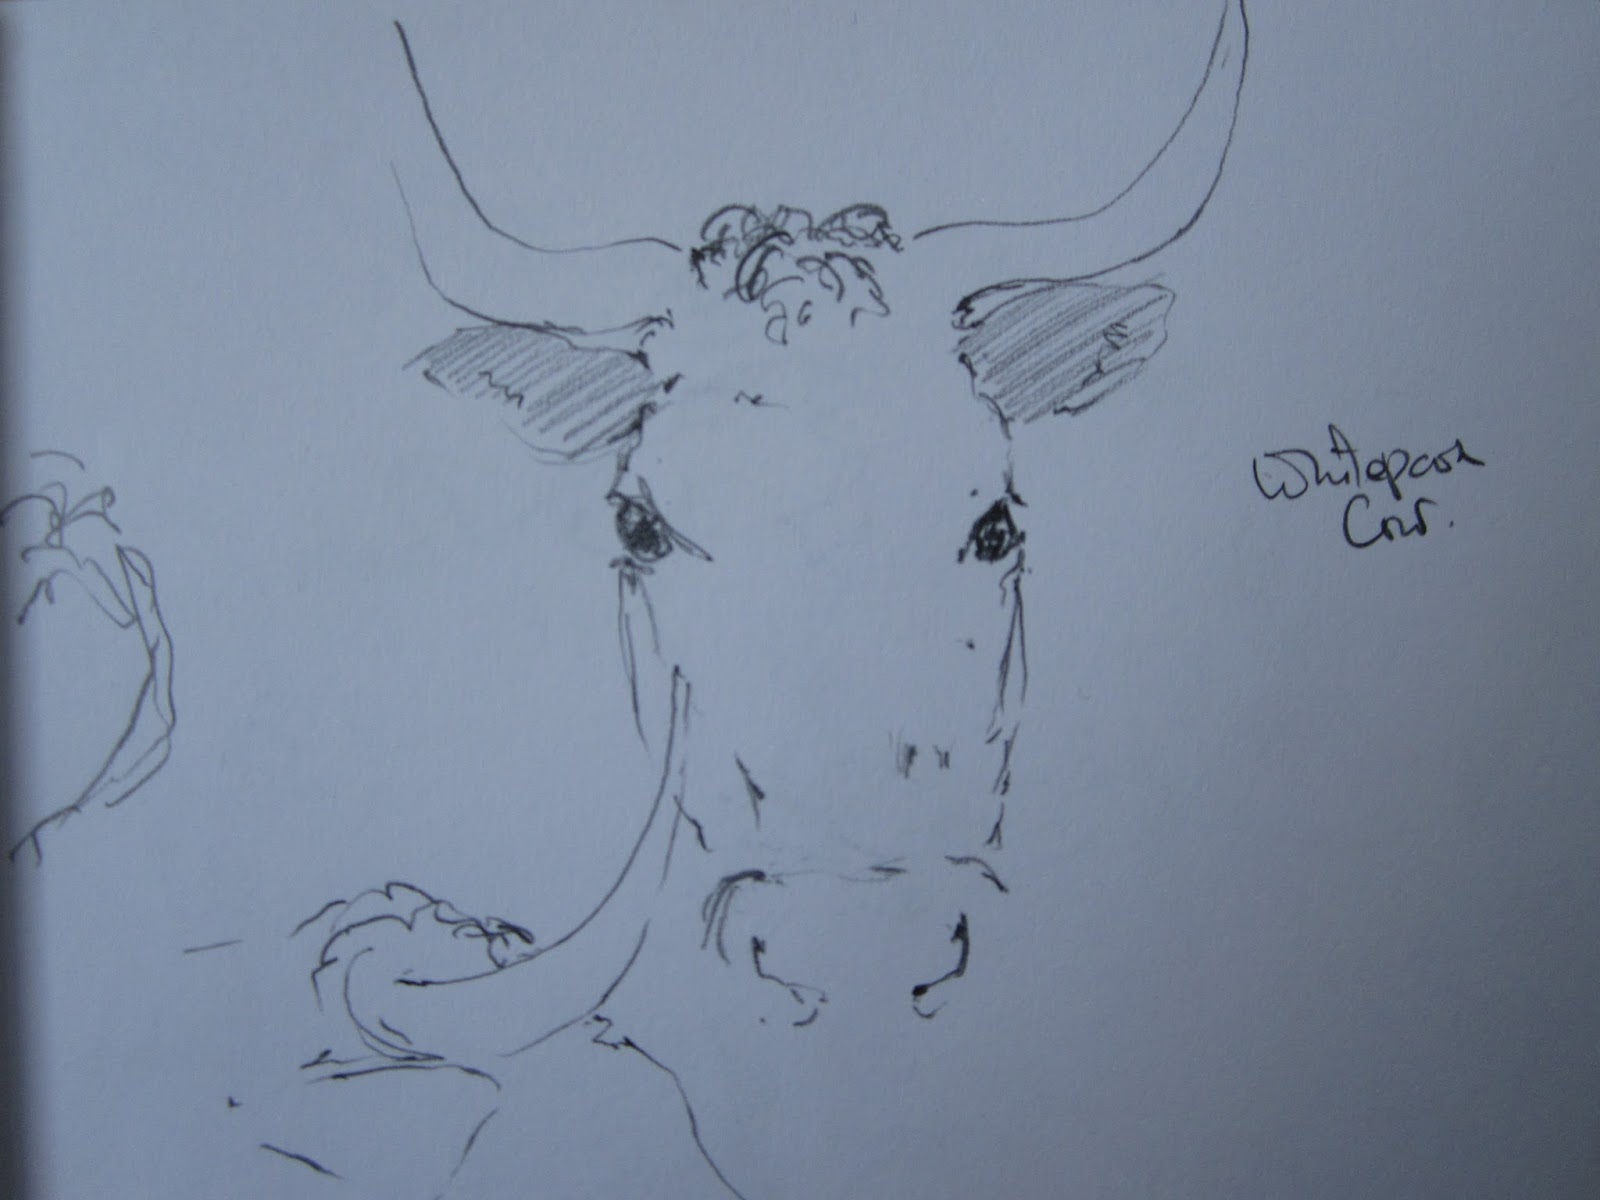
Quick Whitepark cow head study.
   
So, back to thoughts of the future... what do I plan to do about this (temporary) artist block?

1.  Introduce structured hours in the studio, or on location. Just show up whether I feel like it or not.
2.  Work from life as much as possible - whatever takes my fancy initially - I feel sure that if enough work is generated that eventually subject matter or a theme will emerge. It may still be animals and the natural world, or it may be something different, I will try to be open to whatever transpires.
3.  Be productive, encourage quantity so that I may move beyond the more obvious.
4.  To have a period of experimentation, play and discovery and to withhold judgement and criticism to begin with - what will be, will be.
5.  Continue to encourage the social aspect. Spend time outside of the studio with other artists, either at art events or to draw and paint in company.
6.  To keep my teaching schedule manageable so that continuity of my personal work remains strong.
7.  Outside of 'work hours' continue to read art books / magazines / watch art DVD's or You Tube and as ideas, media, subjects or treatments capture my interest to have a go and see what happens.
8.  If I feel really stuck to just play around with colour and create abstract backgrounds to use as a base for drawing / painting / writing over.
9.  To keep positive as this situation has happened before, is likely to happen again in the future and is part of the creative cycle - it happens to most of us at some point!
10. To post more often to this blog, in the hope that whatever I produce in the next few months - whether good, bad or ugly, will give you some insight into this frustrating lull in motivation, but that it can be overcome.

Has something similar happened to you? How did you cope, and what strategies were useful in getting your art back on track?


Tuesday, 24 June 2014

When Nothing is Working... Try Something New!

A new approach...

Last weekend was earmarked for Art with a capital A. With the West Norfolk Artists Association Summer Exhibition fast approaching, and the deadline to get entry forms in almost here, I was running out of time to produce some new work. If I had high expectations, they soon came crashing down. Nothing was working out, I felt rather uninspired and it showed. Frustration and disappointment set deep by Sunday evening. My long suffering husband had to put up with 'woe is me' and lots of sighing. "I don't know what my personal artwork is about..." and "It's all got a bit lightweight and flimsy" were some of the words muttered.

My mind must have been in overdrive while I slept, however. Monday morning I woke up, and a little mental pep talk whilst in the shower gave me whole different mindset for the day. Deep down I do know what I want my work to be about - contrasts of media, translucent versus opaque, detail versus abstract passages (for a start). I would try something different. I would experiment. Take the pressure off. I already have one pastel being framed so at least I have one work to enter. If nothing else I will at least have some fun!

Taking my theme of 'Artist in an Acre' I selected two photos as inspiration. I planned to create an abstract underpainting, then bring some semblance of order out of the chaos by working on the top but allowing passages of the initial layer to show too... These step by step photos demonstrate the stages one of the paintings went through. I started by laying the support on a waterproof sheet, on the floor, for the initial work - I planned on getting messy!

Diluted acrylic washes painted on to a canvas board - not pretty.
 
Thicker paint sponged on in selected areas.
Once dry, liquid acrylic ink is squirted and diluted on the surface,
drips encouraged.

Oooh, now things are getting interesting... dribbles of white diluted gesso.
The yellow acrylic ink wasn't as dry as I thought and mingles - I like it! 

Once the previous layer dried more acrylic ink is added...

Assessment time... 

Taking charge, now referring to reference photo more -
need to keep things loose though

Ah, now there is some context.

Keep the work loose. Spatter and droplets of brighter colour
for suggested leaves...
 
Tinted gesso for skyholes, needed some more 'pop' generally
 and more emphasis on sunlit grass. Out come the Conte crayons and
 finally 'Ta Dah' - finished!
Stream of Light, 35.5cms x 46cms, acrylic & Conte on canvas board.

I have also completed another artwork, a diluted acrylic underpainting on gessoed mountboard then worked up with soft pastel. Unusual for me, I did no blending of the pastel layers. So, when nothing is working... try something new. A different approach could work wonders. I am delighted with the results of the past two days, fingers crossed the selectors like my work!

Late Light, Spring 59cms x 54cms, acrylic & pastel on gessoed mountboard.
  

Saturday, 14 June 2014

Drawing in a Museum - Hints & Tips

Travelling light... basic equipment for a few hours sketching

During the past week I have had lots of practise sketching in a museum setting - an activity I always really enjoy. The mixed media class I run takes place in the studio at Henderson Art and Framing in Gaywood, King's Lynn. For a change this term I put a 'field trip' on the programme. The two afternoon sessions took place in Lynn Museum, plus I went prior to these as the displays have been revamped since I last visited. I put myself into the mindset of a newcomer to this activity and jotted down some suggestions to discuss:

  • Walk around - get the feel of the museum and what is displayed.
  • What interests you / catches your eye?
  • 'Warm up' - do some quick small sketches to get comfortable in environment / concentrate the mind / get hand-eye coordination 'on the go'.
  • Move into more concentrated sketching / drawing - what interests you most about subject / object?
  • More than one drawing of object? Same or different view / treatment / media?
  • Make notes alongside sketches? Factual about object / subject or jottings about colour / light etc?
  • Try different media / approaches?
  • Multiple sketches on page? Larger drawing going across gutter / ringbinder? 
  • Try turning sketchbook around for variety of formats - portrait / landscape etc.

Two members of the class busy with their sketchbooks
(yes, they gave me permission to use my photo here)

The two sessions were a great success, although a few members missed the opportunity for one reason or another. None of them had ever actually experienced drawing in a museum before. They settled quickly, generated several drawings each in their books in a variety of media and coped admirably! I was really pleased and hope that they might consider using sketchbooks more often when out and about. I stressed that it wasn't about making pretty pictures, or with a view to getting enough information to create paintings from. It was purely drawing for the enjoyment of studying and recording aspects of an object / subject that appealed. No pressure, so no problem. Try it for yourself, it could lead to whole new avenue to explore...

I shall leave you with some photos of my own efforts, and if you were wondering about the glue stick in the image at the top of this post - it's to attach the receipt to the page and make it an integral part rather than an after thought.

Start with simple shapes like these pots before trying a more complex study
  
Savage's Fairground Ride captured in water soluble pen
 - reminded me of 'Roadrunner' from the cartoon

Back to pencil and a line drawing of the timbers from Seahenge,
 it was the negative spaces between them that caught my eye

Water soluble pencil, and when I had gathered enough information
I moved on, no need to slave over a drawing

Ah, subject matter I love - translated on the page in sepia & black pen on the left,
water soluble pencil on the right 

Turn the sketchbook around for a different format
to better suit the subject... sepia pen and water soluble pencil
for added tone

Finally...

The Central Stump of Seahenge looking very sculptural and set off
with a dark scribble of pencil as a background

Sepia pen for these wooden carvings

Graphite pencil for this handsome beast

Thank you to the staff at Lynn Museum www.museums.norfolk.gov.uk who were very friendly and didn't mind us commandeering chairs and stools as we moved around the space tracking down objects of personal interest.


Tuesday, 10 June 2014

The Open Studio Experience

Doors thrown open in welcome...

Norfolk & Norwich Open Studios 2014 has proved to be an enjoyable affair and, even if not in monetary terms, I consider it a success. It was the first time I have opened up my home studio and did wonder if I would get any visitors at all as I am tucked away in a little village so far out. After a slow start on that first Saturday (the torrential rain in the morning may have played a part) the remaining days saw a steady trickle of family, friends, neighbours and a few new curious people from further afield who saw my entry in the brochure. A very big "thank you" for your support and interest, it has been much appreciated. The feedback on my studio and artwork has been very encouraging and sales of greetings cards plus a few items from the browser has been a boost.

Trying out drawing techniques with Quink ink and dip pens...

I had laid out a table with two work stations and encouraged visitors to have a go with the dip pens and Quink ink. Whilst this medium is not suitable for wall hanging work as it is not lightfast, it is perfect in a sketchbook. When diluted out into a wash with clean water the black ink separates out into delightful blues, greys and sepia - all by itself, like magic.

Will I do an Open Studio event at home again? Definitely, although maybe the year after next as it will give me time to build up a new body of work. What would I do differently? I was very happy with how I had the studio and felt the cards/postcards/browser and bargain basket were worth having. I enjoyed taking the artwork off the walls and rearranging (curating) into a new configuration - it helps to see the work with fresh eyes. I wanted to display some of my collection of found natural objects and felt having them dotted around amongst the art created coherence and added interest. I think next time I would splash out on advertising with personal invitation cards, and post notices in the 'What's On' free sections of local papers/online.

I shall leave you with some more images of my lovely studio and a few views of the work I had on my easels during the period...

Bringing the outdoors in...

Artist in an Acre 2014 display

Some of the natural objects I collect...

Information about art classes 

Dog portrait in pastel - the underpainting stage

Work in progress - camel in charcoal

Pencil drawing (from specimen) on white Bristol board, candle wax added to
dandelion seed heads to act as resist during next stage

Varigated watercolour wash applied,
plus some spatter

Colour and detail added with coloured pencil